Malati Bridge
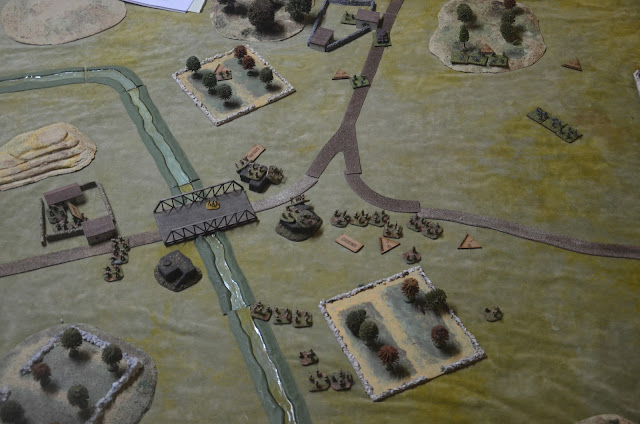
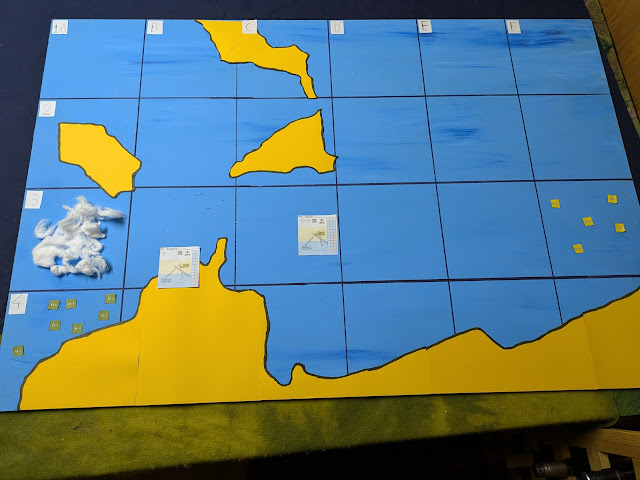
Deployment: In this scenario we are refighting No. 3 Commandos attack on Malati bridge during the allied invasion of Sicily. Their objective is to secure the bridge, remove the demolition charges and then hold it against counterattack until reinforcements arrive. The bridge is defended by 3 pillboxes each containing a heavy machinegun team. In addition there is an Italian commander, a light anti tank gun, and an infantry platoon distributed amongst the defences.
Turn 1: 1st and 2nd troop advance clear of the plantation and immediately come under heavy machinegun fire. They set about trying to establish their own firebase.
Turn 2: A platoon from 1st troop dashes forwards to take out the heavy machinegun. They gun down the crew with their Sten's, but are then driven back with heavy casualties by point blank high explosive fire from the anti tank gun.
Turn 3: The rest of the battalion lays down a withering hail of suppressive fire, and 1st troop launch straight back in for another attack, forcing the gun crew to surrender at bayonet point.
Infiltrating up the riverbank, 2nd troop make for the bridge. But they are forced to pullback when the Italian infantry come charging bravely out of their bunker.
Turn 4: The commando's quickly recover. Disengaging, establishing a new firebase to supress the exposed Italians, and then counterattacking across the bridge. When the Sicilian farmhands start running they let them scatter back to their homes.

The commandos have more pressing matters to attend to as a panzer grenadier battalion with tiger tanks in support arrives from the north west.

Turn 5: Quickly posting grenades into the remaining pillboxes, the commando's capture these desperately needed defences as the Italian commander scarpers to the safety of the German lines.


Turn 6: A sticky situation is made worse as more German armour appears from the south and races up to engage. The clumped commando's dash for cover as enemy mortars start pounding the bridge.

On the right flank 3rd troop spot German forward scouts trying to infiltrate behind their lines. They advance to the road and deploy their platoons to meet them.

Turn 7: With their patrols pushed back the panzer grenadiers mass their forces for a concentrated attack. The mortars continue to rain down but 2nd troop bravely creep back under the bridge and dismantle the demolition charges.


Turn 8: The leading Sherman tanks of XIII Corp arrive from the southern road. In their haste their shots go wide and miss the exposed rear armour of the panzers.

Meanwhile 3rd troop receives a drubbing from the massed panzer grenadiers and tiger tanks, and is forced to pullback behind the road. In response No.3 commando's mortars zero in on the treeline and start a steady drumbeat that saps the panzer grenadiers morale and manpower.

Turn 9: 1st troop race into the line to cover the retreat of 3rd troop, whilst the emboldened panzer grenadiers advance out from the farm
The panzers about face and begin knocking out Shermans in the relief column.
Turn 10: Seeing an opportunity 2nd troop sallies out from the bunkers and bravely lobs a cluster of sticky bombs at the Stug's before dashing back to the safety of the farmhouse. Unfortunately none find their mark, and the oblivious panzers keep firing at the Shermans.
Nonetheless the tank battle tips inexorably away from the Germans as more and more British armor turn up.
At the same time, the panzer grenadier counterattack loses all momentum as a platoon is gunned down with heavy machineguns captured in the bunker. With his own HQ under mortar fire and the aid station overflowing with casualties, the Kampfgruppe commander realises the bridge is to well held and orders his forces to establish a new defensive line on the north side of the river. British win!


Comments
Post a Comment