Battle of Cristini
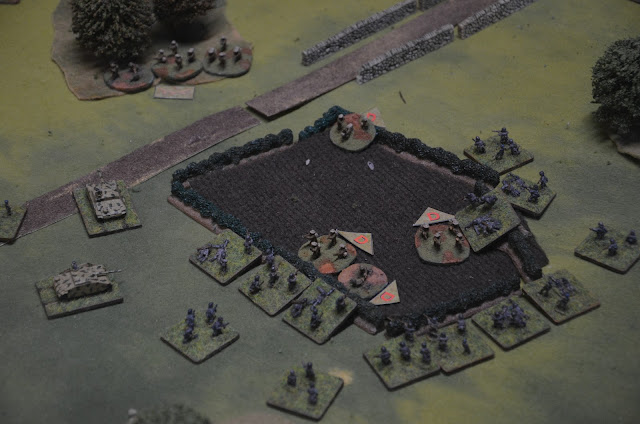
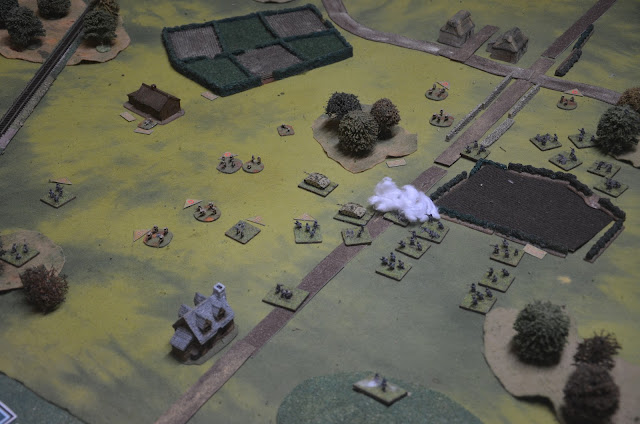
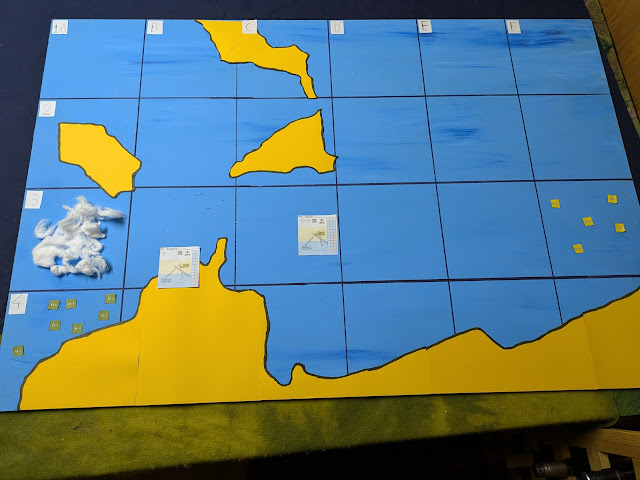
Deployment: The Germans have two depleted companies on either side of the road with attached medium machineguns and mortars. A platoon of Stug's are on the road and ready to advance, whilst in reserve they have another company that is heavily depleted. The British are defending and have two full strength companies in hidden deployment positions, each with an attached PIAT team. They also have one medium machinegun and a mortar battery off table. The entire British force are rated as trained, the German infantry are all experienced, whilst the Stug's are veteran.
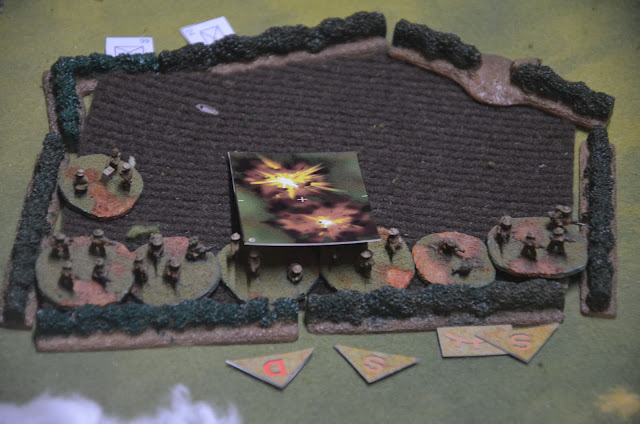
The British mortars zero in on the german forming up area, badly disrupting the company on the left by knocking out their mortars and killing the commander!
German Turn 1: On the left one of the platoon leaders takes command of the company and hastily forms it into a skirmish line. The company on the right pushes into the woods, whilst the reserve company swings around on the extreme right flank.
British Turn 1: The mortars keep up the barrage on the left, suppressing a platoon.
German Turn 2: A patrol scouts ahead and discovers one of the British company's holding the edge of the field. The German platoon in the treeline are on overwatch and return fire, whilst the Stugs rumble up within spotting range. On the left flank the British machinegun opens fire from the house,
British Turn 2: On the left the battalion mortars suppress a German platoon. On the right the British use their 2inch light mortars to lay down smoke, smothering the Stug's and degrading their fire for the time being.


British Turn 5: On the left the mortar barrage keeps the enemy machinegun pinned down. Using its cover the British infantry launch a general assault, suffering heavy casualties but forcing the Germans back. On the right the infantry company in the field lay down some effective fire, knocking out a German machinegun team. But as the smoke clears fully they realise how exposed their position is with the Stug's looming over them and begin to pull back.
German Turn 6: Exposed and out of breath, the British infantry on the left are hammered by more mortar fire. Unfortunately for the Germans it's just at this moment that their machinegun team is knocked out, saving the enemy from annihilation. On the right however the remains of the British company are surrounded by the outflanking Germans, whilst half of the stug platoon pivot to redirect their fire towards the centre.

British Turn 6: The survivors on the right unsurprisingly panic, and are gunned down and dispersed as they attempt to scramble backwards through the thick hedges. On the left the infantry launch a series of desperate assaults, achieving some success and pushing the German company facing them to the brink. In the centre the British reveal their last reserves and make a final gambit. After smothering the Stug's again with their 2 inch mortars, the PIAT team daringly charge out of the woods and attack the armoured behemoths up close. As bombs rock the assault guns they return fire blindly through the smoke, cutting down the PIAT team with their machineguns before they can land a knock out blow.
German Turn 7: The entire German battalion are now free to concentrate against the one remaining British company. The mortars keep up their steady bombardment, the company on the left hold firm and keep the firefight going, whilst the Stug's crash forwards out of the smoke and open up with their machineguns at point blank against the infantry in the open. With their position wholly untenable the British force retreats in disarray. Germans win!


Comments
Post a Comment